Create your statements using the process outlined previously.
-Click the Print/Send button.![]()
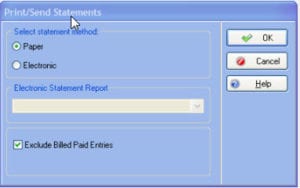
-The following window will appear. Select Paper. You will also see a field labeled Exclude Billed Paid Entries. This field will cause the statements to ignore any transactions that have a balance of zero, regardless of whether the entire statement has been paid or not. We recommend that you check this. Once you have made your selections, click OK.
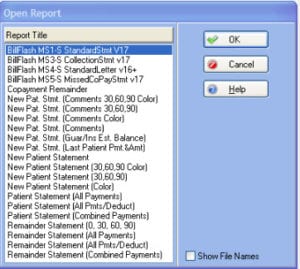
-You will now be asked to select a format for your patient statements. Medisoft comes standard with the formats listed. You also have the ability to modify these formats in order to create your own. If the statements you have created are remainder statements, you MUST select a remainder statement format. If the statements you have created are standard statements, you MUST select one of the other formats. After making your selection, press OK.
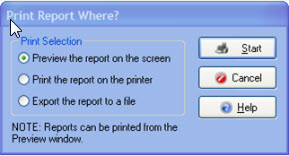
-The program will now prompt you to select where you would like to output your statements. In order for the statement to be marked as billed, you must select either the option to Print the report on the printer or Export the report to a file. Make your selection and click Start.
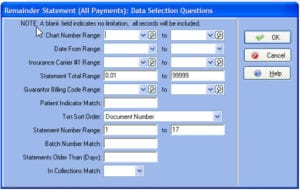
-You will see the Data Selection Questions screen. This screen will allow you to filter your statements. The Statement Total Range will default to 0.01 to 99999. This means that you will only get statements with a total between 1 cent and $99,999. If you want zero or negative balance statements, you will need to modify this value. You will also see a Statement Number Range. This filter will default to a range including the entire range of statements in statement management. Do not change this filter. Make any other selections you wish to filter on and click OK.
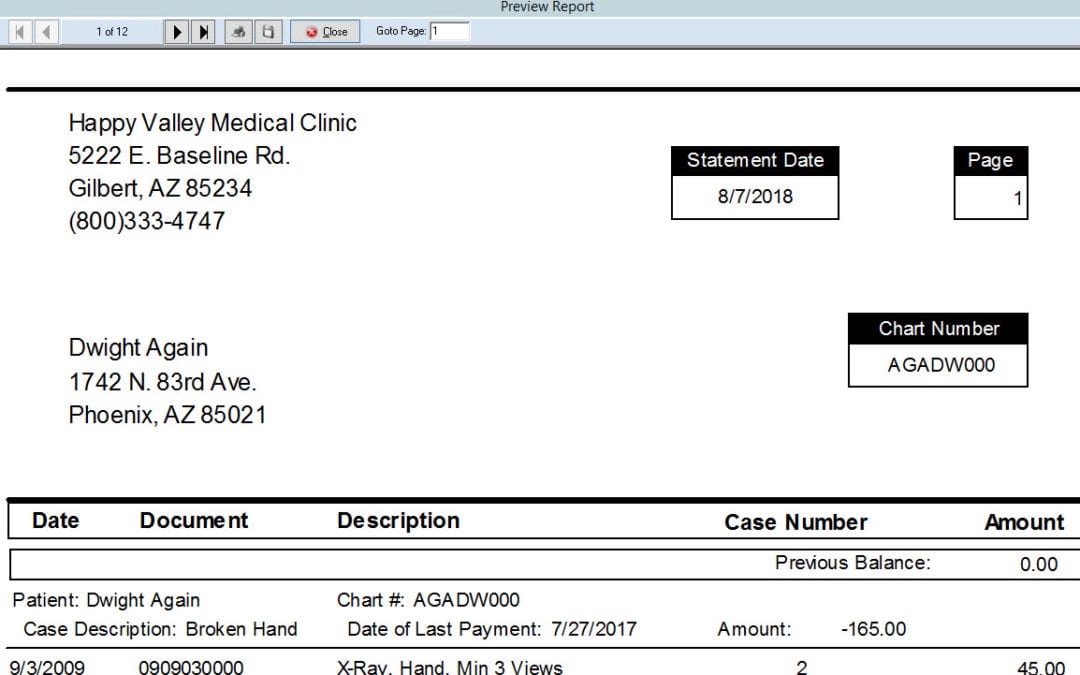
-The statements will be sent to the output device previously specified.


Recent Comments